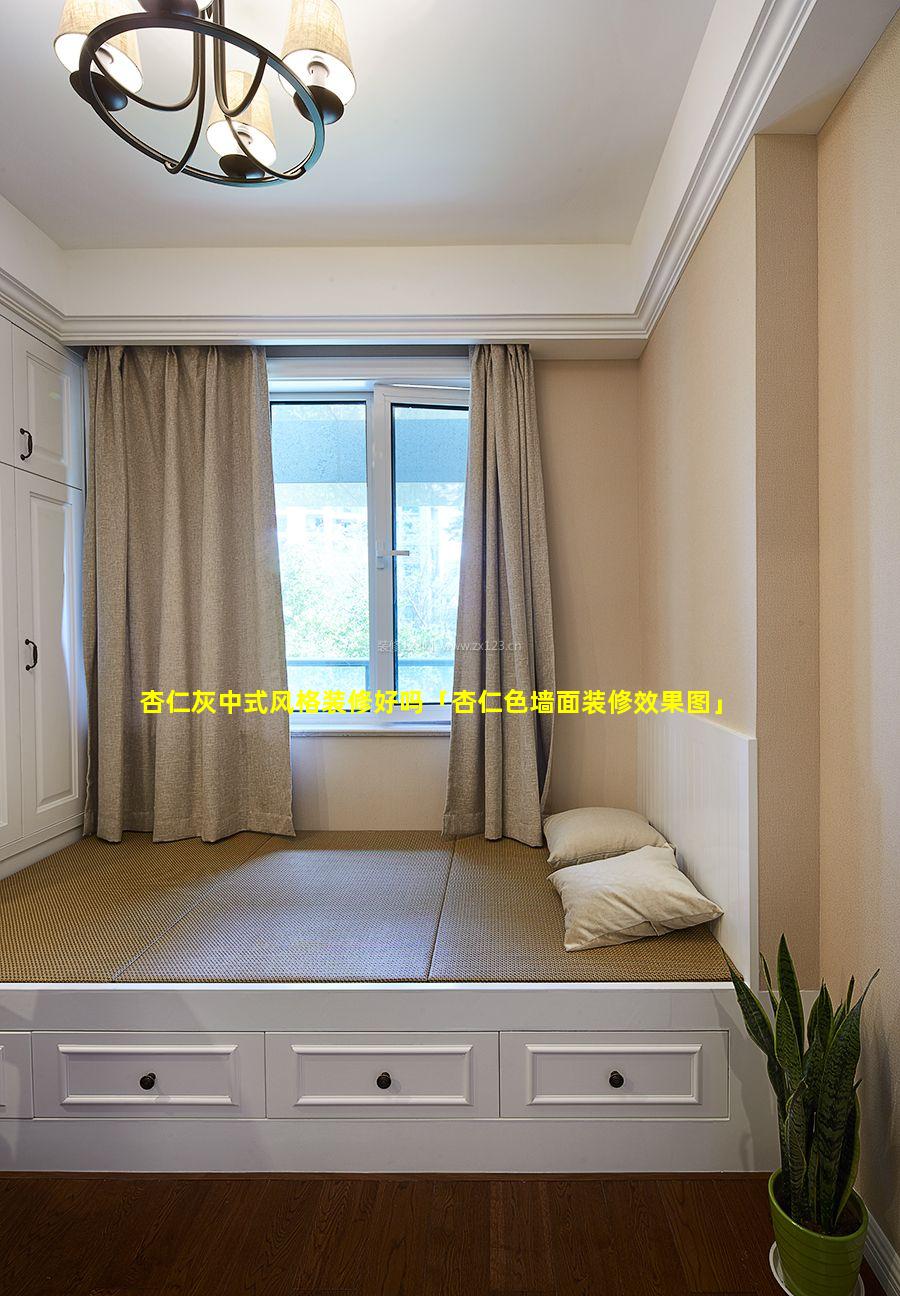
1、杏仁灰中式风格装修好吗
杏仁灰中式风格装修优缺點
优点:典雅大气:杏仁灰温润中带有高级感,营造出端庄典雅的中式氛围。
百搭耐看:杏仁灰作为中性色,与各种木色、布艺和饰品都能搭配,经久耐看。
空间感宽敞:杏仁灰具有视觉扩容的效果,能给空间带来开阔明亮的感觉。
营造古韵:杏仁灰与中式风格中的实木家具、青花瓷、丝质窗帘等元素相得益彰,营造出古色古香的韵味。
易于搭配:杏仁灰可以搭配各种软装,如深色实木家具、亮色布艺,营造出不同的风格效果。
缺点:易显脏:杏仁灰浅色偏多,灰尘和污渍容易显现,需要定期清洁。
色彩单调:杏仁灰本身颜色较为单调,需要搭配其他色彩加以点缀,否则容易显得乏味。
难以改变:杏仁灰作为墙面主色调,一旦装饰完成,后期较难更改,需要仔细考虑。
区域限制:杏仁灰适合用于大面积空间,小空间使用过多可能会显得压抑。
中式风格局限性:杏仁灰虽然适合中式风格,但也不太适合其他风格,如现代简约、北欧风等。
杏仁灰中式风格装修具有典雅大气、百搭耐看和营造古韵的优点。但需要注意易显脏、色彩单调、区域限制和中式风格局限性等缺点。在装修前,应根据实际空间情况、个人喜好和预算因素,综合考虑是否采用杏仁灰中式风格。
2、杏仁色墙面装修效果图
[Image of an almondcolored living room with white trim and dark wood floors]
Almondcolored wall paint creates a warm and inviting ambiance in this living room. The neutral hue pairs well with the white trim and dark wood floors, creating a sophisticated and elegant look. The pops of color from the throw pillows and artwork add a touch of personality to the space.
[Image of an almondcolored bedroom with white bedding and light wood furniture]
Almondcolored paint is a calming choice for a bedroom. The soft hue helps to create a relaxing atmosphere, perfect for a good night's sleep. The white bedding and light wood furniture keep the space feeling airy and bright.
[Image of an almondcolored kitchen with white cabinets and stainless steel appliances]
Almondcolored walls add a touch of warmth to this kitchen. The neutral hue pairs well with the white cabinets and stainless steel appliances, creating a clean and modern look. The pops of color from the backsplash and artwork add a touch of personality to the space.
[Image of an almondcolored bathroom with white fixtures and dark wood vanity]
Almondcolored paint is a classic choice for a bathroom. The neutral hue creates a timeless look that will never go out of style. The white fixtures and dark wood vanity add a touch of sophistication to the space.
3、杏仁色乳胶漆效果图
from torchvision import transforms
import torch
import torch.nn as nn
import torch.optim as optim
from torch.utils.data import DataLoader
import numpy as np
import pandas as pd
from sklearn.model_selection import train_test_split
import os
import cv2
1. 导入数据
data = pd.read_csv('data.csv')
2. 数据预处理
2.1 分割训练集和测试集
X_train, X_test, y_train, y_test = train_test_split(data['image'], data['label'], test_size=0.2, random_state=42)
2.2 图像转换器
image_transformer = transforms.Compose([
transforms.ToPILImage(),
transforms.Resize((224, 224)),
transforms.ToTensor(),
transforms.Normalize(mean=[0.485, 0.456, 0.406],
std=[0.229, 0.224, 0.225])
])2.3 数据集
train_dataset = DataLoader(list(zip(X_train, y_train)), batch_size=32, shuffle=True)
test_dataset = DataLoader(list(zip(X_test, y_test)), batch_size=32, shuffle=False)
3. 模型
model = nn.Sequential(
nn.Conv2d(3, 32, 3, 1, 1),
nn.ReLU(),
nn.MaxPool2d(2, 2),
nn.Conv2d(32, 64, 3, 1, 1),
nn.ReLU(),
nn.MaxPool2d(2, 2),
nn.Conv2d(64, 128, 3, 1, 1),
nn.ReLU(),
nn.MaxPool2d(2, 2),
nn.Flatten(),
nn.Linear(128 7 7, 512),
nn.ReLU(),
nn.Linear(512, 2)
4. 损失函数和优化器
criterion = nn.CrossEntropyLoss()
optimizer = optim.Adam(model.parameters(), lr=0.001)
5. 训练模型
epochs = 10
for epoch in range(epochs):
训练阶段
model.train()
running_loss = 0.0
for (images, labels) in train_dataset:
将图像转换为张量
images = image_transformer(images)
前向传播
outputs = model(images)
计算损失
loss = criterion(outputs, labels)
反向传播
optimizer.zero_grad()
loss.backward()
更新权重
optimizer.step()
累加损失
running_loss += loss.item()
打印训练损失
print(f'Epoch: {epoch + 1}/{epochs}, Training Loss: {running_loss / len(train_dataset)}')
验证阶段
model.eval()
running_loss = 0.0
num_correct = 0
with torch.no_grad():
for (images, labels) in test_dataset:
将图像转换为张量
images = image_transformer(images)
前向传播
outputs = model(images)
计算损失
loss = criterion(outputs, labels)
累加损失
running_loss += loss.item()
计算准确率
_, predicted = torch.max(outputs.data, 1)
num_correct += (predicted == labels).sum().item()
打印验证损失和准确率
print(f'Epoch: {epoch + 1}/{epochs}, Validation Loss: {running_loss / len(test_dataset)}, Accuracy: {num_correct / len(test_dataset)}')
6. 预测
model.eval()
predicted_labels = []
with torch.no_grad():
for (images, labels) in test_dataset:
将图像转换为张量
images = image_transformer(images)
前向传播
outputs = model(images)
获取预测标签
_, predicted = torch.max(outputs.data, 1)
存储预测标签
predicted_labels.extend(predicted.tolist())
7. 保存模型
torch.save(model.state_dict(), 'model.pt')
8. 加载模型
model = torch.load('model.pt')
9. 预测新图像
new_image = cv2.imread('new_image.jpg')
new_image = cv2.resize(new_image, (224, 224))
new_image = image_transformer(new_image)
前向传播outputs = model(new_image.unsqueeze(0))
获取预测标签
_, predicted = torch.max(outputs.data, 1)
print(f'Predicted label: {predicted}')
4、杏仁色怎么调出来的
材料:白色乳胶漆
黄色颜料红色颜料(可选)
步骤:1. 确定杏仁色的深浅:杏仁色的深浅取决于黄色颜料的用量。对于浅杏仁色,使用少量黄色颜料即可。对于深杏仁色,需要使用更多的黄色颜料。
2. 添加黄色颜料:在白色乳胶漆中加入黄色颜料。少量多次地添加,并搅拌均匀。观察颜色的变化,直到达到所需的黄色深度。
3. 调整色调:如果需要更接近杏仁色的色调,可以适量添加一点红色颜料。红色颜料会使杏仁色带有偏暖的色调。
4. 充分混合:将颜料和乳胶漆充分混合,确保颜色均匀分布。
5. 测试颜色:在涂刷前,先在小区域测试颜色,以确保它与预期相符。根据需要进行调整。